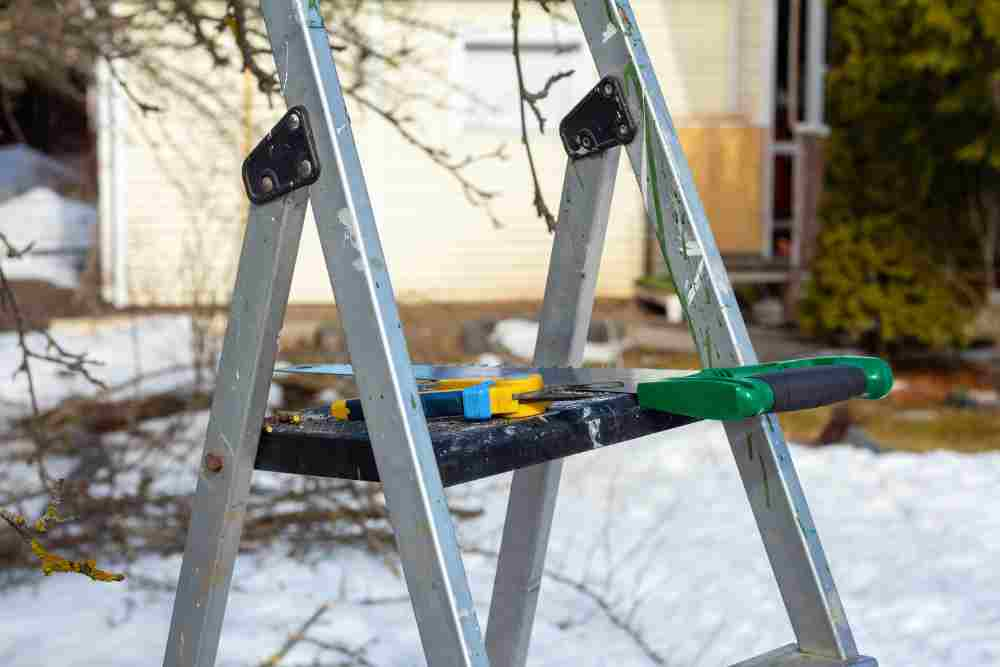
Whether you’re a seasoned gardener or just starting out, a sharp pruning saw is an essential tool to have in your arsenal. A well-maintained pruning saw not only makes your gardening tasks easier but also ensures clean and healthy cuts for your plants.
In this guide, we’ll walk you through the step-by-step process of sharpening a pruning saw, ensuring it remains effective and efficient for your pruning needs.

Why Sharpness Matters
A dull pruning saw can lead to ragged cuts that tear the plant’s tissue instead of cleanly slicing through it. These jagged cuts not only look unsightly but also create openings for diseases and pests to enter.
By keeping your pruning saw sharp, you’ll be able to make clean cuts that promote quicker healing for plants, reducing the risk of infections and other issues.
Tools and Materials You’ll Need
Before you start the sharpening process, gather the necessary tools and materials:
- A flat file
- A triangular file
- A vise
- Safety gloves
- Safety goggles
- A cleaning brush
- Lubricating oil
Safety Precautions Before You Begin
Safety is paramount when working with sharp tools. Begin by wearing your safety goggles and gloves to protect your eyes and hands from debris and potential nicks.
Make sure your work area is well-lit and clutter-free. Secure your pruning saw in a vice or clamp, ensuring it doesn’t move during sharpening.
How To Sharpen A Pruning Saw?
- Clean the saw blade: Before sharpening, it’s crucial to thoroughly clean the blade. Use a cleaning brush to remove any sap, dirt, or debris that may have accumulated on the surface. This will ensure a smooth sharpening process.
- Secure the saw blade: To sharpen the pruning saw blade effectively, it needs to be properly secured. Use a vice or clamp to hold the saw blade firmly in place. Make sure it is tightly secured to prevent any accidents during sharpening.
- Inspect the teeth: Take a close look at the saw teeth. Identify any dull, damaged, or bent teeth that need to be sharpened or replaced. This will help you focus your efforts on the areas that require attention.
- Determine the filing angle: Pruning saw blades have specific filing angles depending on their design. Check the manufacturer’s recommendations or use a guide to determine the correct angle for your blade. This will ensure consistent and effective sharpening.
- Position the file: Hold the file against the tooth at the correct filing angle. Start at the base of the tooth and push the file forward in a smooth, controlled motion. Apply light pressure to remove any burrs or dull edges. Repeat this process for each tooth, maintaining a consistent filing angle throughout.
- File in one direction: Always file in the same direction, away from your body, to maintain consistency. Avoid using a back-and-forth motion, as this can result in uneven sharpening and could damage the saw blade.
- Balance the blade: After sharpening the entire blade, it’s important to ensure that it is well-balanced. Check the teeth for uniformity in height and shape. If necessary, gently file or grind any uneven parts to achieve a balanced saw blade.
- Clean and lubricate: Once you are satisfied with the sharpness and balance of the pruning saw blade, give it a final cleaning using a brush. Remove any metal filings or debris that may have accumulated during the sharpening process. Apply a light coat of lubricating oil to the blade to prevent rust and improve its overall performance.
By following these steps and taking the time to properly sharpen your pruning saw blade, you’ll be equipped with a reliable tool for precise and effortless cutting. Regular maintenance and sharpening will not only enhance the longevity of your saw but also ensure safety and optimal performance.
Tips for Proper Maintenance
Regular Cleaning
After each use, clean your pruning saw thoroughly to prevent the buildup of sap and debris that can dull the blade.
Protective Storage
Store your pruning saw in a dry place, preferably in a protective case. This prevents exposure to moisture and reduces the risk of rust.
Avoiding Improper Use
Only use your pruning saw for cutting branches and limbs. Avoid using it on materials like metal, as this can damage the blade.
In conclusion sharpening a pruning saw is a straightforward process that can greatly enhance your gardening experience.
With the right tools and a bit of practice, you can maintain a sharp and efficient pruning saw that makes your gardening tasks a breeze.
Remember, a well-sharpened saw not only improves your efficiency but also promotes the health and vitality of your plants.
Frequently Asked Questions (FAQs)
Can I use a regular file for sharpening my pruning saw?
It’s best to use a file specifically designed for saw sharpening to achieve optimal results.
How often should I sharpen my pruning saw?
The frequency of sharpening depends on how often you use the saw. However, a good rule of thumb is to sharpen it after every few uses or when you notice a decrease in cutting efficiency.
Is it necessary to wear safety goggles and gloves during sharpening?
Yes, wearing safety goggles and gloves is essential to protect yourself from debris and potential accidents.
Can I sharpen a severely damaged saw blade on my own?
For severely damaged blades, it’s recommended to seek professional help or replace the blade altogether.
What’s the purpose of raker teeth on a pruning saw?
Raker teeth help clear debris from the cut, ensuring smoother and more efficient cutting. Adjust them slightly lower than the cutting teeth for optimal performance.
